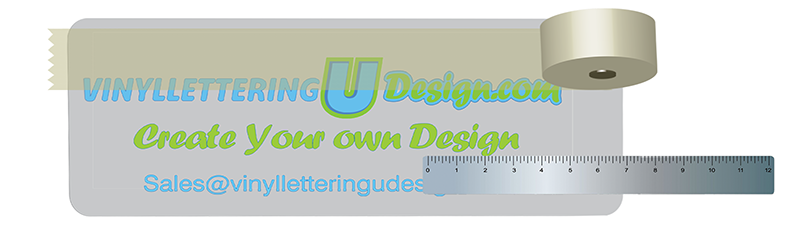
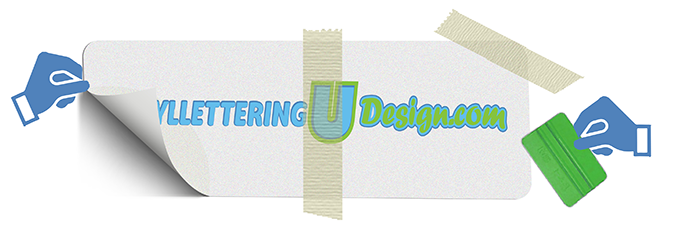
VINYL LETTERING INSTALLATION: THE BASICS 1. Clean and position and vinyl lettering. Clean the surface and position the vinyl lettering in place. (keeping the backing intact). Once vinyl lettering is in desired position apply masking tape across the top edge to create a hinge.
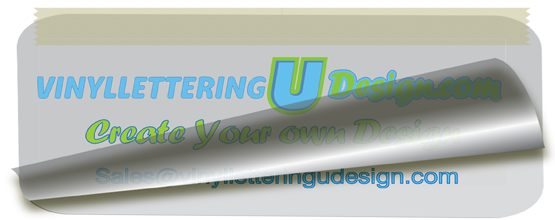
2 . Separate the backing from the vinyl lettering
Crease the sign back along the tape hinge and remove the backing exposing the vinyl adhesive. BE CAREFUL. Do no allow the vinyl lettering to touch the surface until you are ready to apply.
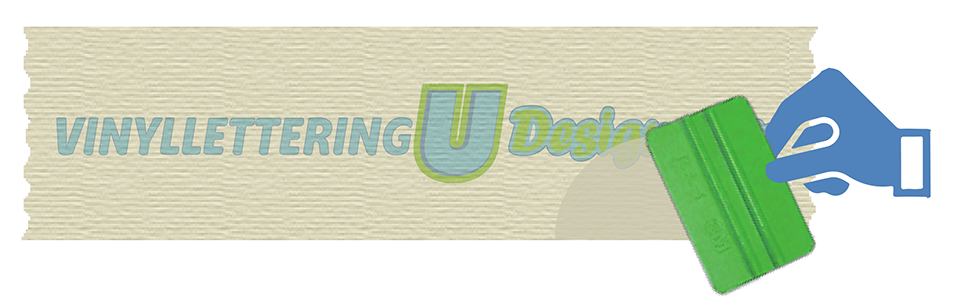
3. Squeegee down the vinyl lettering. Hold the sign away from the surface and starting from tape edge (hinge) apply the squeegee and work down to the opposite edge of the vinyl lettering.
4 . Peel off the transfer tape.
Ensure your custom lettering is securely in place and then slowly remove transfer tape.
VINYL LETTERING INSTALLATION: HINGE METHOD
This method is used for long custom vinyl lettering designs or graphics
and surfaces that are somewhat contoured or curved.
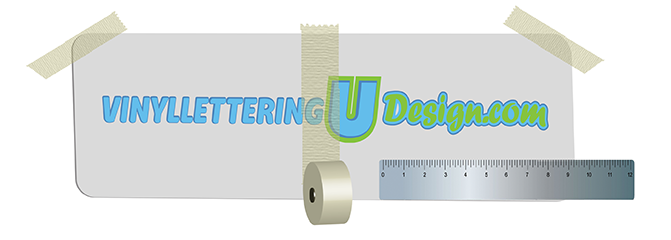
1. Apply Tape down the middle
Clean the surface for the vinyl lettering and tape a small piece of masking tape to each corner
of the vinyl lettering to position it in place. Once the vinyl lettering is in the correct location place
masking tape down the middle of the lettering or graphic.
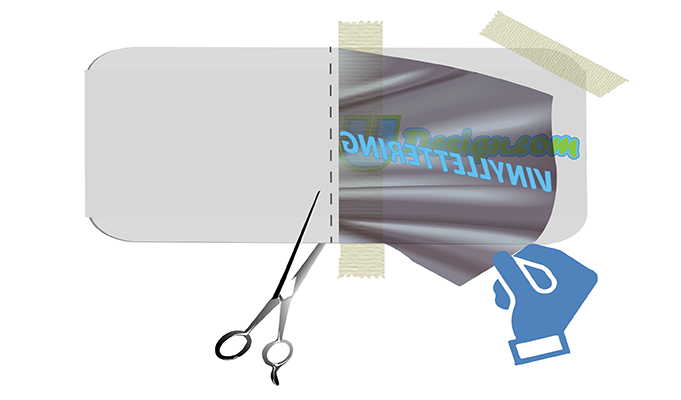
2. Remove half of the vinyl lettering backing
Pull back the custom vinyl lettering from one half of the design. Cut the liner at the middle hinge
and peel off the backing while holding the lettering and transfer tape away from the surface
and the liner.
3. Squeegee down the one half of the vinyl lettering
Hold the edge of the Vinyl and pull firmly to the hinge and close to the surfrace. Squeegee
starting from the middle of the hinge using a up and down motion from the center to the outside edge.
4. Complete Steps 2 & 3 for other side
Repeat step2 and then remove the middle tape and repeat step 3 for the opposite side.
5. Remove the Transfer Tape
VINYL LETTERING INSTALLATION: Cut Into Smaller Sections
This Vinyl Lettering Method is similar to the basic method and allow the
in installer to cut the vinyl lettering and graphics into smaller
pieces to make more manageable to apply the vinyl.
1. Clean and position and vinyl lettering.
Clean the surface and position the vinyl lettering in place. (keeping the backing intact).
Once vinyl lettering is in desired position apply masking tape across
the top edge to create a hinge.
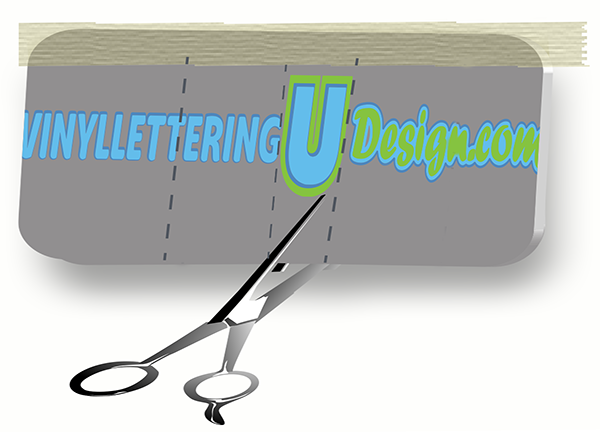
2. Cut the Vinyl Lettering into sections
Cut the vinyl lettering into sections by
cutting in between the letters or spaces of vinyl.
The size of the cut sections can be as small or
long as you are comfortable handling.
Ensure you do not cut into the vinyl. and only
in the spaces/gaps of masked vinyl lettering
3. Separate the backing from the vinyl lettering
Lift up the cut section and remove the
backing exposing the vinyl adhesive.
BE CAREFUL. Do no allow the vinyl
lettering to touch the surface until
you are ready to apply.
4. Adhere the vinyl lettering.
Hold the sign away from the surface and starting from tape edge and apply the squeegee and work down to the opposite edge of the vinyl lettering.
5. Peel off Masking Tape
Ensure your lettering is firmly
in place and peel off
the masking tape
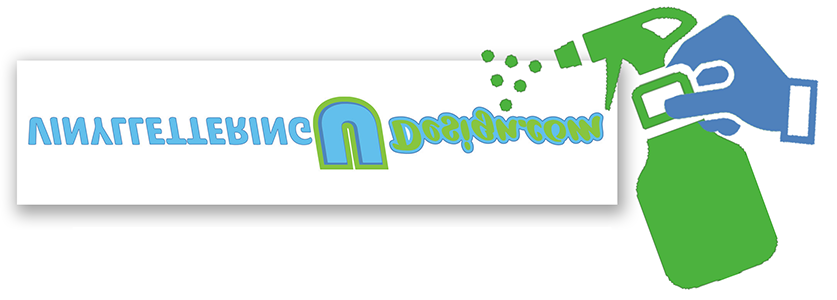
VINYL LETTERING INSTALLATION: THE WET METHOD
(Only For Large Graphics)
This method is used for large graphics and decals to adjust the positioning and reduces potential air bubbles trapped behind the vinyl lettering.
1. Make a Soapy spray mixture with a couple of drops of soap in spray bottle
Spray a generous amount of soapy spray on the surface and the back of the vinyl after you
remove the liner.
2. With a Squeegee start from the middles and press the water out to
the edges of the vinyl lettering. Ensure all the water has been pushed
out from the back of the vinyl lettering.
3. Your custom vinyl lettering must be completely dry before removing the
transfer tape. Allow 20-30 minutes to completely dry. If the vinyl lettering
starts to come up with transfer tape allow another 30 minutes for drying or
use a hair dryer to expedite the drying process.